How to Photograph a Living Room: 7 Pro Tips for a Spacious Feel
Master the art of capturing the heart of the home to wow buyers and win more listings.
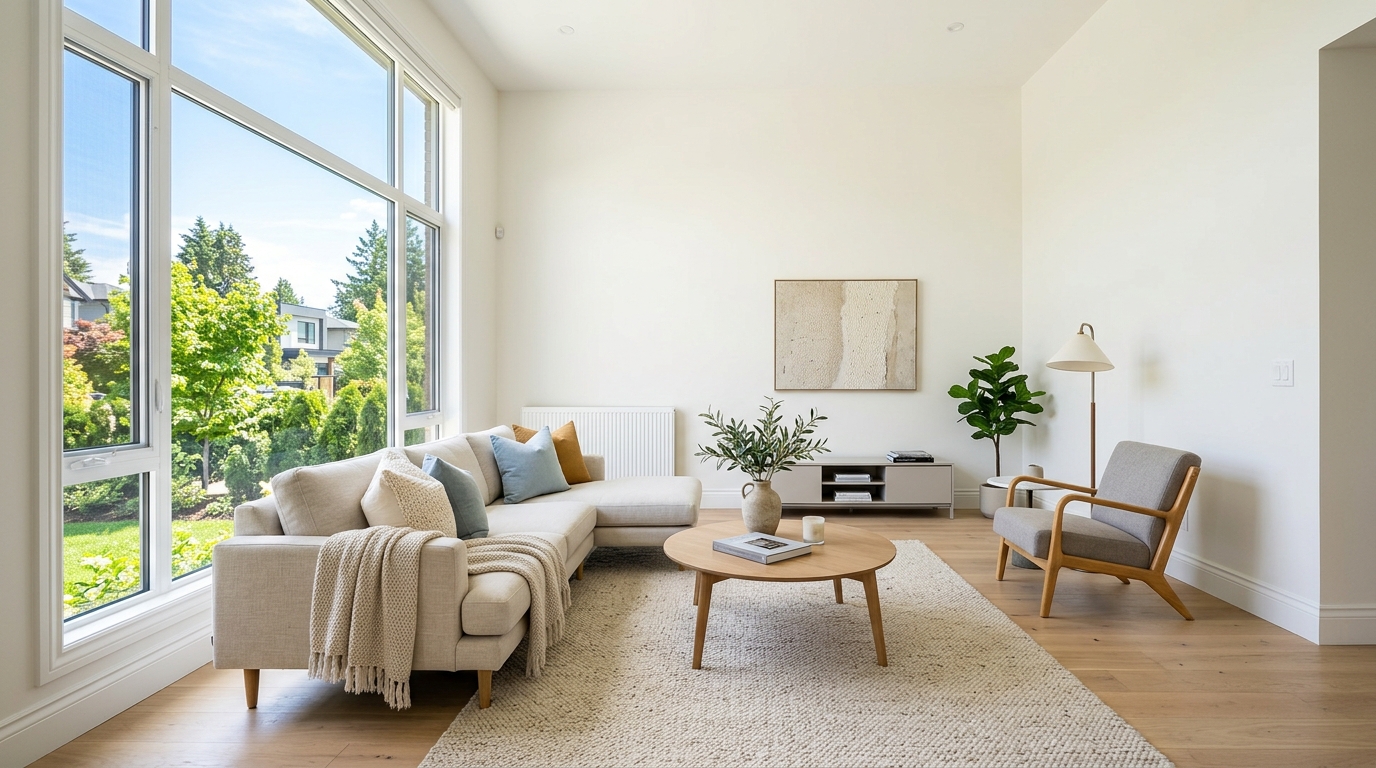
The Living Room: Where First Impressions Are Formed
You’ve probably been there—standing in a gorgeous, sun-drenched living room that feels like it could host a gala, only to look at your camera screen and see a cramped, dark box. It’s frustrating, right? The living room is arguably the most important photo in your entire listing. It’s where buyers imagine their kids opening Christmas presents, where they see themselves hosting movie nights, and where they’ll spend 80% of their waking hours. If the photo doesn't feel 'big' enough, they might just keep scrolling.
Learning how to photograph a living room isn't just about having an expensive camera; it’s about understanding the geometry of a room and how light interacts with the lens. Whether you're a seasoned pro or an agent trying to up your game with pro-quality smartphone photos, these seven strategies will help you capture that elusive, airy, and spacious feel every buyer craves.
1. Master the Corner Angle for Maximum Depth
One of the most common mistakes in real estate photography is shooting a room straight-on. While a symmetrical, flat shot can work for architectural magazines, it often makes a standard living room feel two-dimensional and shallow. To create a sense of vastness, you need to find your 'hero corner.'
By shooting from a corner, you introduce diagonal lines into the frame. These lines lead the viewer's eye from the foreground to the background, creating a sense of three-dimensional depth. This technique is especially vital when you need to photograph small spaces to make them look larger than life. Try to include three walls in the shot if possible; this defines the boundaries of the room while emphasizing the floor space between them.
2. Lower Your Tripod (The Waist-Height Rule)
Most beginners shoot from eye level. It seems natural, right? That’s how we see the world. However, in real estate photography, shooting from 5 or 6 feet high actually makes a room feel smaller. It causes you to tilt the camera down to see the furniture, which makes the floor look like it’s “sliding” toward the viewer and makes the ceiling feel like it's pressing down on the room.
For a spacious, high-end feel, drop your tripod to roughly waist-height (about 3 to 4 feet). This perspective does two things: it levels out the furniture, making the pieces look more balanced, and it emphasizes the height of the ceiling. When the camera is lower, the room feels grander and more architectural. Just be sure to keep your camera perfectly level to avoid those dreaded leaning walls.
3. Leverage the Power of Natural Light
Shadows are the enemy of space. Dark corners act like visual walls that close a room in, making it feel tight and claustrophobic. The easiest way to “push back” those walls is to flood the room with light. But not just any light—you want the soft, wrapping quality of the sun.
Open every blind, curtain, and shutter. If the view outside is spectacular, you can use high-dynamic-range (HDR) techniques to capture both the interior and the exterior view. If the view is just a neighbor's brick wall, use sheer curtains to diffuse the light while hiding the eyesore. For a deeper dive into this, check out our guide on how to use natural light in real estate photography. Pro tip: Turn off the ceiling fans and overhead lights. They often create ugly yellow color casts and harsh shadows that make a room look dated and small.
4. The Wide-Angle Lens: Use with Caution
To get the whole living room in one shot, you need a wide-angle lens. Typically, a focal length between 16mm and 24mm (on a full-frame camera) is the sweet spot. This allows you to capture the flow of the room without making it look like a funhouse mirror.
However, there is a fine line between "spacious" and "dishonest." If you go wider than 16mm, you risk the "fish-eye" effect where the edges of the photo warp and the sofa looks ten feet long. This can actually backfire when buyers visit the home in person and feel let down. You want to showcase the room's potential, not create a fictional version of it. Aim for a perspective that feels broad but grounded in reality.
5. Declutter to Define the Floor Plan
Space is defined by what’s not there. In a living room, the amount of visible floor space is a direct psychological trigger for "spaciousness." If the floor is covered by a massive coffee table, three ottomans, and a pile of kids' toys, the room will feel tiny regardless of its actual square footage.
- Clear the walkways: Ensure there is a clear path for the "eye" to walk through the photo.
- Remove bulky rugs: If a rug is too small for the space, it can actually make the room look chopped up. Sometimes, showing the hardwood underneath is better.
- Simplify the mantel: A busy fireplace mantel draws the eye to a single point, making the rest of the room feel like an afterthought. Keep it minimal.
Remember, you aren't just selling a room; you're selling a lifestyle. If the physical clutter is too much to handle, you might consider virtual staging vs. physical staging to show the room's true potential without the mess.
6. Stage Furniture for the Lens, Not the Human
A living room that is comfortable for conversation isn't always the living room that looks best in a photo. In person, we like furniture close together. In a photo, this creates a "blob" of furniture in the center of the frame that blocks the view of the room's dimensions.
Try pulling the sofa a few inches away from the wall. Move the chairs slightly further apart. Creating "air" between pieces of furniture allows the camera to see more of the floor and the back walls, which instantly makes the room feel larger. Think of it like a theater set—everything should be angled slightly toward the camera to open up the space.
7. Edit for Vertical Integrity
Nothing screams "amateur" like a living room where the walls look like they are falling inward. This happens when the camera is tilted up or down. Even if you use a tripod, slight misalignments can happen. In post-processing, you must ensure your vertical lines are perfectly 90 degrees.
When the vertical lines (corners of walls, door frames, window edges) are perfectly straight, the room feels stable, professional, and expansive. Most editing software has a "Vertical Transform" or "Lens Correction" tool that fixes this with one click. This small detail is often the difference between a listing that gets ignored and one that goes viral on Zillow.
Ready to Capture Your Next Listing?
Mastering how to photograph a living room is a skill that pays dividends. When you present a home as bright, open, and inviting, you aren't just helping that specific seller—you're building your brand as a high-end marketer. Buyers notice quality, and more importantly, future sellers notice who is making homes look their absolute best.
By implementing these seven tips—from the waist-height tripod rule to the strategic use of natural light—you'll create visuals that don't just show a room, but tell a story of space and possibility. Now, grab your gear and go turn that "cramped box" into a spacious sanctuary!