How to Stage a Dining Room for Photos: 7 Tips to Inspire Entertaining
Transform a static space into a lifestyle destination that helps buyers visualize their future celebrations.

The Secret Sauce of Dining Room Staging
Have you ever walked into a house and immediately felt like you were crashing a dinner party that hadn't started yet? There’s a specific magic in a well-staged dining room. It’s not just about a table and some chairs; it’s about the promise of Thanksgiving dinners, Sunday morning brunches, and late-night conversations over a bottle of wine. When you stage a dining room for photos, you aren't just selling square footage—you're selling a lifestyle.
In the world of real estate photography, the dining room often gets the short end of the stick. It’s frequently treated as a pass-through space between the kitchen and the living room. But for many buyers, the dining room represents the heart of their social life. If your photos look cold, cramped, or cluttered, you’re missing a massive emotional trigger. Let’s dive into how you can turn this often-overlooked room into a high-converting masterpiece.
1. Scale the Furniture to the Space
We’ve all seen it: a massive, dark oak table crammed into a breakfast nook, or a tiny four-top floating in a cavernous formal dining hall. Neither looks good on camera. The first rule of staging is to ensure the furniture matches the room's proportions. If the table is too big, the room looks small. If it's too small, the room looks unfinished.
If you're working with a smaller area, consider using a round table. Round tables soften the lines of a room and make it easier for the camera to capture the flow of the space. For larger rooms, a rectangular table with at least six chairs is the gold standard. Remember, you want to show capacity without sacrificing breathability. A great way to ensure buyers understand the dimensions is to provide context; this is where 7 reasons to add floor plans to your strategy becomes clear, as it helps buyers visualize how their own furniture might fit.
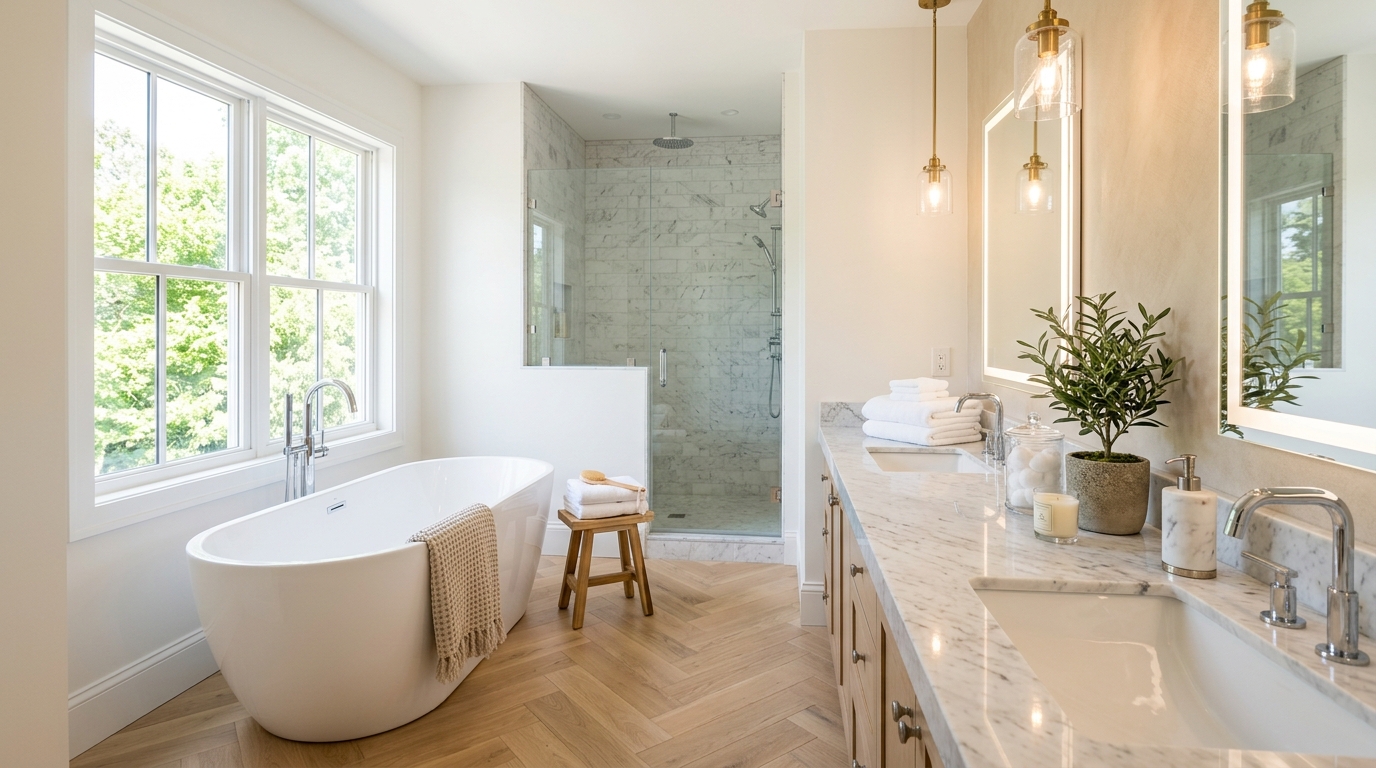
2. Master the "Jewelry" of the Room: The Lighting
In a dining room, the light fixture is the protagonist. Whether it’s a modern Sputnik chandelier or a classic crystal piece, it needs to be clean, centered, and positioned at the right height. For photos, the bottom of the fixture should ideally be about 30 to 34 inches above the table surface.
But don't stop at the chandelier. Lighting is a multi-layered game. You want to leverage as much ambient light as possible. Open those curtains wide! Natural light creates a sense of freshness that artificial bulbs simply can't replicate. If you want to dive deeper into techinques for this, check out our guide on how to use natural light in real estate photography. Pro tip: Turn off the overhead lights if they are creating harsh yellow shadows or "hot spots" on the table surface. Often, a combination of natural light and a well-timed flash produces a much cleaner look.
3. The Centerpiece Strategy: Less is More
One of the biggest mistakes agents make when they stage a dining room for photos is over-decorating the table. You don't need a three-tier floral arrangement that blocks the view of the rest of the house. In fact, height is your enemy in real estate photography because it cuts off the sightlines.
Go for something low and wide. A simple wooden dough bowl filled with green apples, a sleek tray with a few candles, or a low-profile vase with fresh eucalyptus works wonders. These items add texture and a pop of organic color without dominating the frame. The goal is to draw the eye to the center of the room, then let it wander to the architectural details like crown molding or large windows.
4. To Set the Table or Not?
This is the age-old debate in home staging. Should you set the table with full place settings, or leave it bare? The answer usually depends on the "vibe" of the home. For a high-end luxury listing, a minimalist place setting—think simple white plates, linen napkins, and clean glassware—can help buyers visualize a formal dinner. It adds a layer of sophistication that says, "This home is ready for entertaining."
However, for a more modern or minimalist home, a bare table with a single, high-quality runner and a striking centerpiece often looks cleaner in photos. If you do choose to set the table, keep it neutral. Avoid busy patterns or seasonal themes that might date the photos. You want the buyer to focus on the room, not your choice of china.
5. Use Color Psychology to Set the Mood
Colors evoke feelings, and in a dining room, you want to evoke feelings of warmth, appetite, and conversation. Earth tones, deep blues, or soft greens can make a dining space feel grounded and inviting. If the room is painted a bold, distracting color, you might suggest a neutral refresh before the photographer arrives.
You can use accessories to bring in strategic pops of color. A set of navy blue napkins or a bowl of bright citrus can provide a focal point that makes the photo "pop" on Zillow or Instagram. For a deeper look at how these choices affect buyer behavior, read our article on 7 ways to use color psychology in home staging. A little bit of intentional color can be the difference between a buyer scrolling past or booking a showing.
6. Mind the Chairs
Chairs are the most repetitive element in a dining room, which means they can either create a sense of rhythm or a sense of clutter. Ensure all chairs are pushed in evenly. If the chairs have high backs, they can sometimes act like a wall in photos, blocking the view of the table and the rest of the room. In these cases, it’s often better to remove two chairs (one from each side) to open up the visual field.
Also, pay attention to the "legs." A forest of chair and table legs can look messy in a wide-angle shot. A well-placed area rug can help "ground" the furniture and create a cohesive unit, preventing the chairs from looking like they are floating in space. Just make sure the rug is large enough that all chair legs stay on it even when pulled out.
7. Create a Connection to the Surrounding Rooms
Buyers rarely look at a dining room in isolation. They want to know how it connects to the kitchen (for serving) and the living room (for post-dinner relaxing). When taking photos, use angles that show these transitions. A shot from the kitchen looking into the staged dining room creates a narrative of daily life.
This is also where "lifestyle" staging comes in. If there’s a sideboard or a buffet, stage it as a bar area with a couple of nice decanters or a coffee station. This tells the buyer, "This is where the party starts." By showing the functionality of the peripheral furniture, you're reinforcing the idea that this home is built for social connection.
Final Thoughts for the Camera
When the staging is done and it’s time for the shoot, remember that height matters. Shooting from a slightly lower angle (around chest height) often makes the dining table look more grand and the room feel more spacious. Avoid "bird’s eye" views that look down on the table, as this can make the furniture look squat and the room feel cramped.
Staging a dining room for photos is about more than just cleaning up; it’s about curation. By focusing on scale, lighting, and intentional details, you create a visual invitation that buyers find hard to resist. Ready to take your listing to the next level? Don't just stop at the dining room—every corner of the home deserves this level of attention to detail.
Ready to showcase your listing with professional-grade marketing? From high-end photography to immersive virtual tours, The Listing Showcase helps you stand out in a crowded market. Contact us today to see how we can help you sell the dream, one room at a time.